Part 1. Making the PCB.
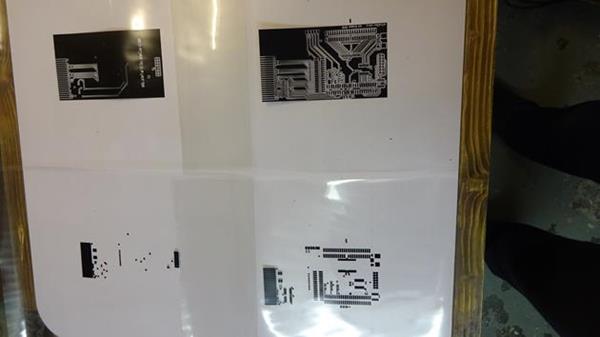
Films to expose. Lower films are for the soldering mask upper for the PCB itself.
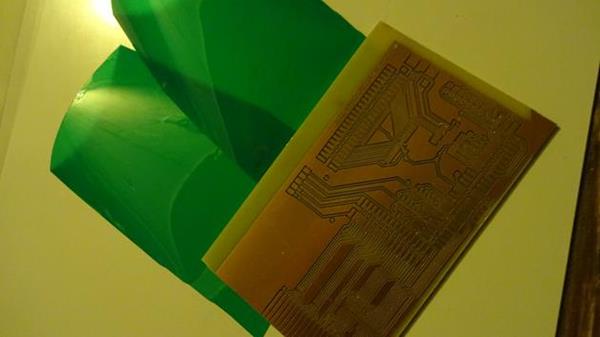
The cutted PCB. Seems to fit ;)
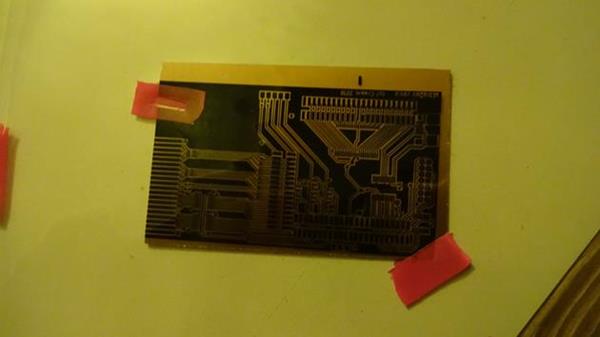
The PCB is double sided. It's important that the upper and lower side are fitting. This is done with a small bag so they can't move. The red cellotape is that the PCB can't move. Both sides must be exposed so when you turn the PCB it can't move.
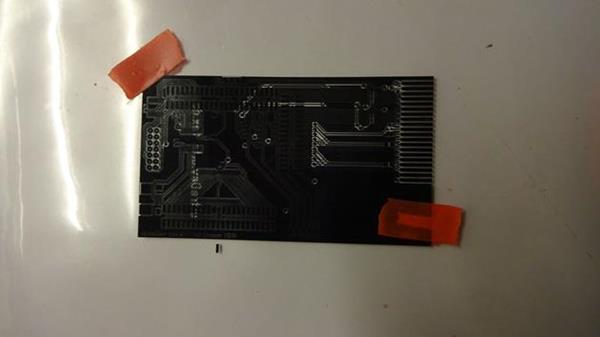
Added the PCB to the bag.
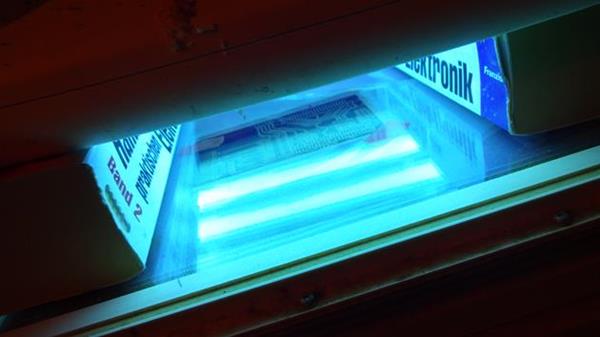
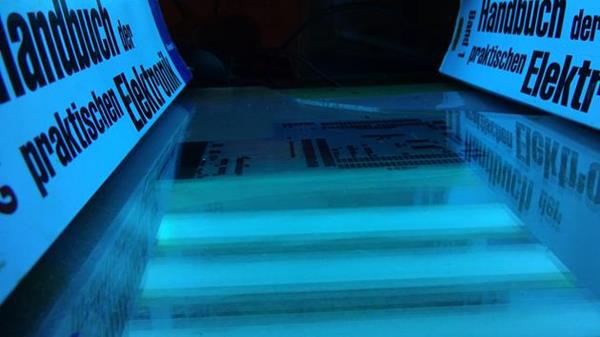
And the PCB expose with a face tanner. Both sides about 2.5 minutes.
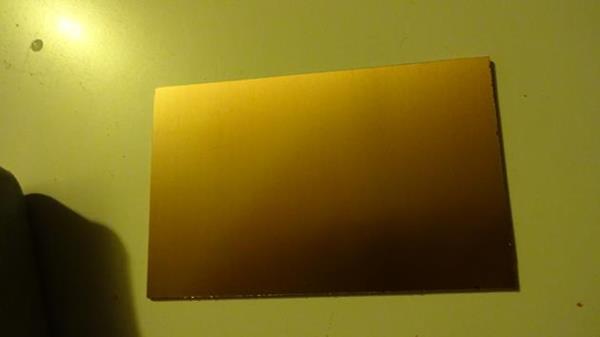
This is how the pcb looks like after exposer. Not much to see. Now a bath in the developer is needed.
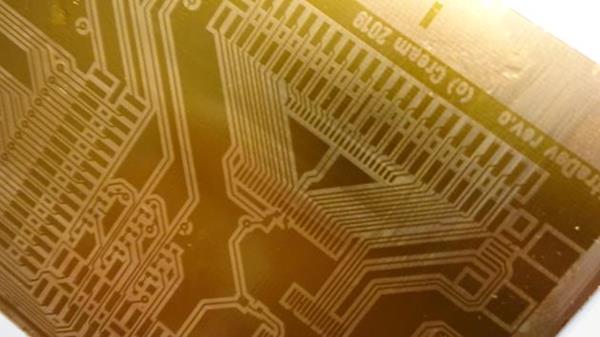
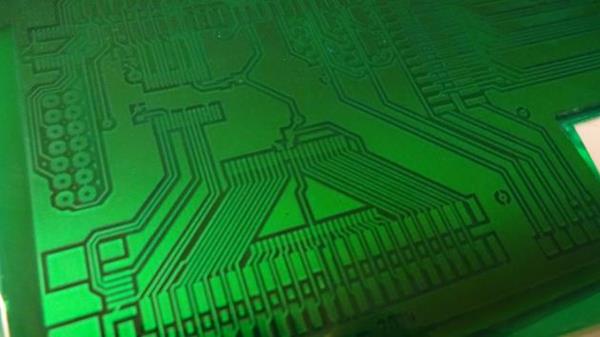
After the bath the PCB looks like this. Looks good so far.
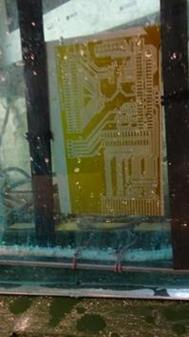
The PCB during etching. Takes about 20 minutes.
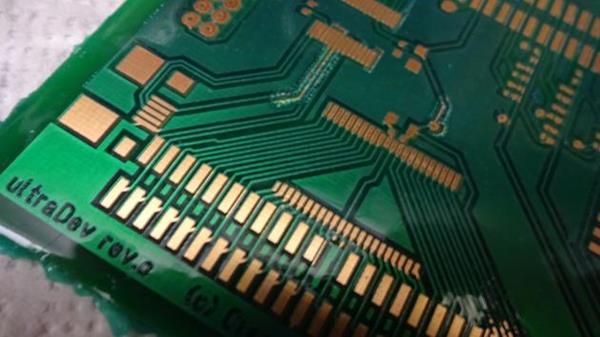
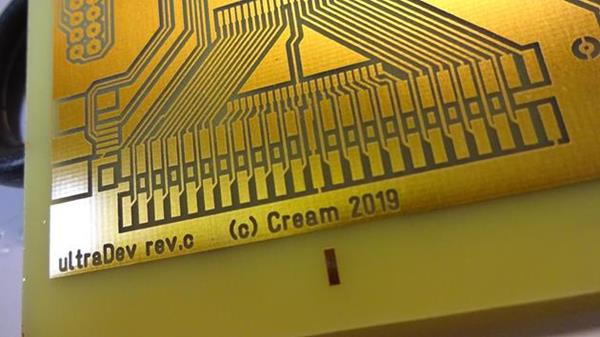
I love this moment. When you take out the PCB after etching and the PCB looks almost perfekt ;)
Cutting again. Almost looks like a cartridge already...
Next step is do add the soldering mask. The green foil is laminated to the PCB both sides of course.
The laminated foil on the PCB.
And exposed again both sides with the pad positions. 2.5 minutes each side.
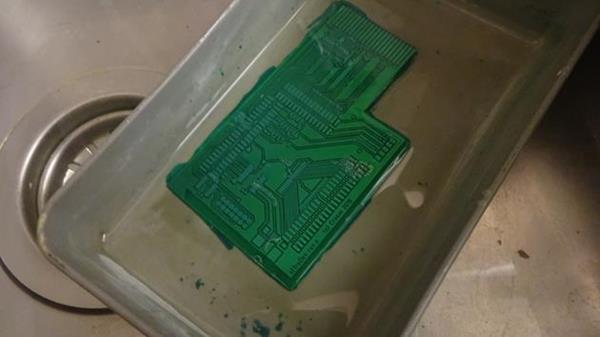
Developing the soldering mask in a hot bath.
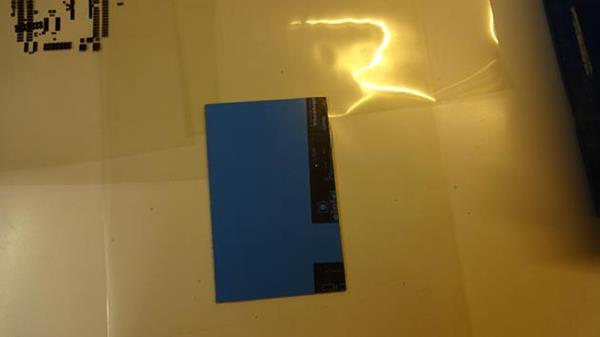
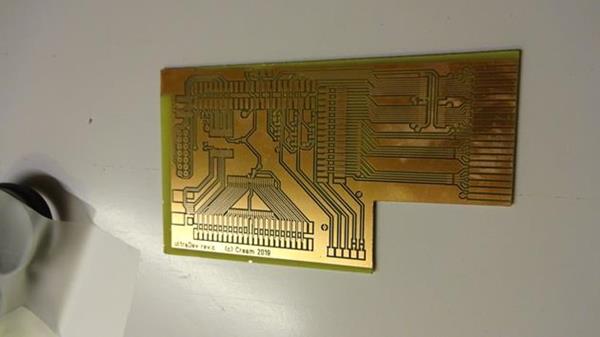
The final PCB.